
 www.ConcreteCottage.com
Chronicles of the Design & Construction of Two Waterfront Hurricane Proof Dry Stack Modular Green Custom Homes
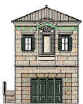
1. Villa Lagoon, Wilder Italian Style Home
2. Nasello Italian Style Home
Mary and Jerry Nasello's Gulf Coast DAC-ART Waterfront House Construction: 2006-2009 |
|||||||||||
| Site Prep | Pilings | Foundation | 1st Course | Slab Prep | Slab | 2nd Course | 3rd Course | 4th Course | 5th Course | Page 11 | |
| 6th Course | First Floor | 7th Course | Porch#1 | 8th-9th row blocks | Weathershield | 10,11,12th | Second Floor | 16th Row blocks | 17,18,19th row | 19,20th row | |
| Page 22 | Cornice | Fireplace | Roof-1 | Roof-2 | Roof-3 | Cornice-2 | Arches | Garage Doors | Porch Arches | Roof Decking | |
| Page 33 | Tile Roof | Newspaper: Castle Article | Magazine Coverage: DacArt in the News | FloorTile | |||||||
Product Discussion Pages |
|||||||||||
| Partners | DacArt in the News | Buy a Finished DAC-ART Home | Tankless Water Heaters | Magnesium Oxide Boards-MgO | Concrete Bldg. Systems and History |
Hurricane Windows & Doors | Custom Garage Doors | Composite Decking | House Numbers | Concrete Floor Tile and Reproduction |
|
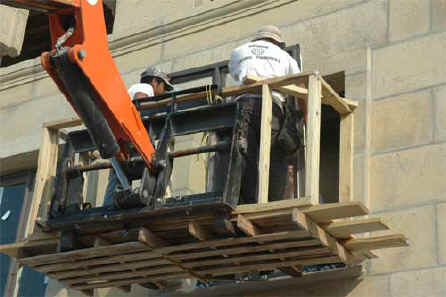
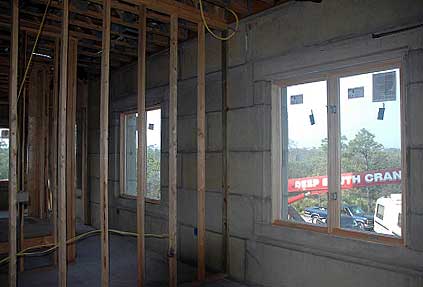
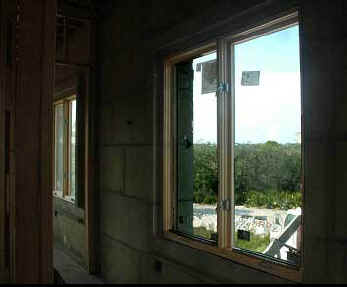
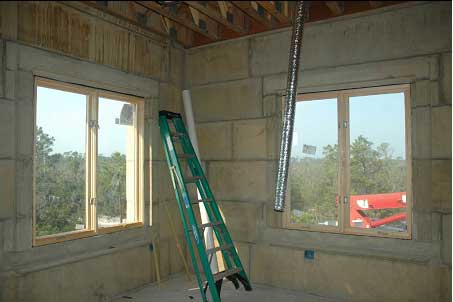
Weathershield Impact Glass Windows and Doors
Early June, 2007
 |
 |
||
|
|||
 |
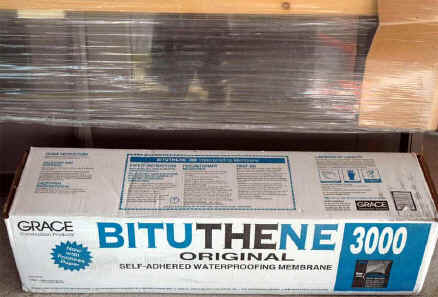
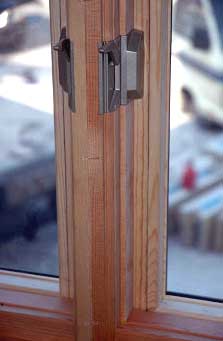
This product goes around the window openings. It is a peel-n-stick product. It is cut into strips and goes under the frame of the window. |
||
|
| |||
 |
 |
||
 |
|||
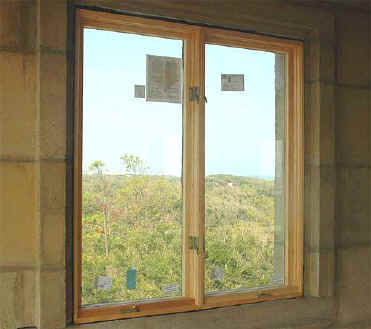
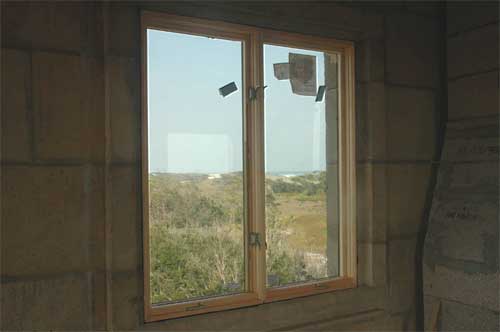
On the outside of the windows we will use HydroStop. This is a paint-on product that has a mesh fiber layer as one of the components. You paint on a coat of Hydrostop and while it is still wet , you lay down the fibrous material and then another coat of Hydrostop gets applied on top of that. |
|||

 |
 |
 |
 |
 |
|
|
|
|
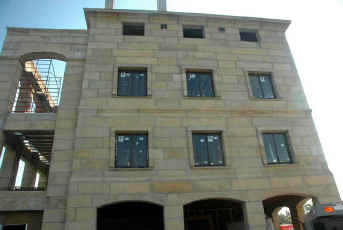
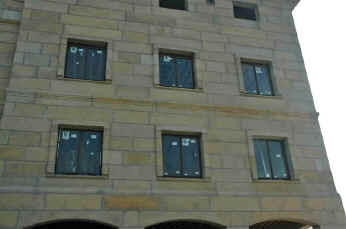
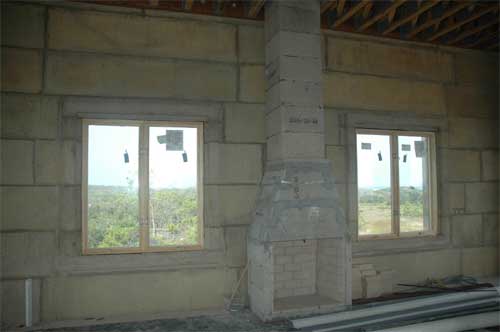
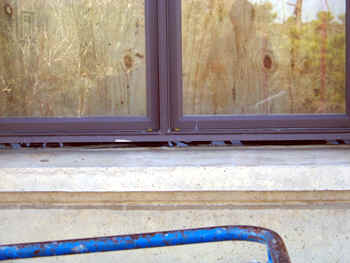
Both these photos are exterior shots. We ended up with a gap that is going to require some kind of solution. These are two different windows in these photos. The bottom of the window is suppose to fit in such a manner that all that is required is the trim supplied by Weathershield Window Co. It is obvious that after we install the trim there will still be a considerable gap which need attention. The block guys built to the block position plans which were supplied by DAC-ART who made our blocks. We ran into problems on our arched shaped windows as well. In that case, we had to chisel away concrete to get the windows in place. |
|

Villa Lagoon Tile
Introducing Encaustic Cement Tile to the Coast. Known the world over as mosaicos hidráulicos. The ideal floor for a hurricane proof project, residential or commercial, with global availability. Explore the beauty of cement tile.
You can support this website by starting all Amazon purchases here, just click thru our link![]() , or search below.
, or search below.
 | Copyright 2005-2016 All Rights Reserved Fort Morgan Web Development, Inc. | |
Original WebsiteVilla Lagoon Phase I completed in 2003 | New Website-2007-2009Phase II North Elevation w/ Frieze |